Hello and welcome to a static page. It was once a WordPress blog for Paul Healey.
You may have visited blog.pauked.com for different reasons:
- To read old Quake deathmatch maps reviews from MPQ Archive.
- For instructions on how to build a Yardmaster shed.
- To view old blog posts of weird stuff from the mid to late 2000s.
Below are your answers.
MPQ Archive
The Multiplayer Quake (MPQ) Archive is a collection of Quake deathmatch maps reviews from the late 90s to early 2000s.
~500 splendid reviews with lots of sarcasm.
Yardmaster Shed Instructions
The instructions cover the following models:
- Model 108 GEY – Green
- Model 1010 GEY – Green
- Model 108 ZGEY – Silver
- Model 1010 ZGEY – Silver
Download Yardmaster Shed Instructions
Old Blog Posts
This was Snitch. She was about 2 years old when this photo was taken in 2009. She lived until 2024. A great cat. The greatest of cats.
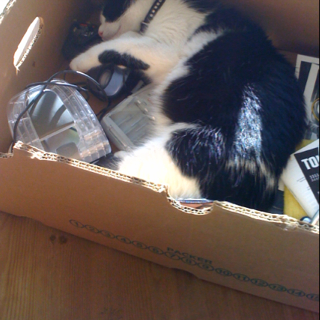
I still have that hole punch. And that's about the only sensible thing I blogged.